Introduction to HTML and CSS
Adapted from Introduction to HTML and CSS by Kristen Hackett, Patrick Sweeney, and Patrick Smyth for Graduate Center Digital Research Institute January 2020 Curricula. Copyright (c) 2020-present Sabina Pringle with a Creative Commons Attribution-ShareAlike 4.0 International license.
Overview and learning goals
HTML (Hypertext Markup Language) is a markup language used to create and organize the content of a website. CSS (Cascading Style Sheets) is a language used for design and layout. Together, these languages form the foundation of what one needs to know to create websites that are useful and well-designed.
By the end of this workshop, participants will:
- Familiarize themselves with the anatomy of a webpage
- Understand the basics of the HTML and CSS markup languages
- Use HTML, CSS, and a text editor to build a small website
Introduction
Websites seem like these magical things that appear when we open our web browser (i.e. Chrome, Firefox, Safari). We know that websites are hypertext, meaning that we can click between links, traveling from page to page until we find what we need. What may be less obvious about websites is that, fundamentally websites are plain text documents, usually written in HTML or another web-based markup language, such as XML or XHTML.
Fun fact: Nearly 80% of all websites (whose markup language we know) use HTML.
Hypertext Markup Language (HTML)
HTML is a markup language used to write web-based documents. It’s used to designate “elements” in documents, such as paragraphs, images, headings, and links, so that they can be rendered by programs such as browsers.
Markup language vs. programming Language
HTML is a markup language, not a programming language, and functionally and conceptually there is a difference. Whereas programming languages are used to transform data, by creating scripts that organize an output of data based on a particular input of data, a markup language is used to control the presentation of data.
For a practical example of this difference, we can think about tables. A programming language can help you search through a table, understand the kinds of data the table includes, find particular data points, or transform its content into other kinds of data like frequencies. A markup language would instead determine the content, layout, and visual presentation of the table.
Fundamentally, then, a script or program is a set of instructions given to the computer. A document in a markup language determines how information is presented to a user.
NOTE - Markup vs Markdown: Markdown and HTML are both types of markup languages; Markdown is a play on words. Markup languages help format content.
Cascading Style Sheets (CSS)
CSS is a language for describing style in markup languages, and is usually used in conjunction with HTML. CSS is essentially a set of rules that can then be applied when rendering a HTML document. Its name—cascading style sheets—refers to the fact that there is an order of precedence in how CSS rules are applied to a document; in short, more specific rules overwrite less specific rules.
Where does the internet come in?
Together, these languages can be used to write and style a website using a text editor (i.e. VS Code) directly from your computer. No internet access needed.
However, internet access is necessary if you plan on making your website available to the public.
Example
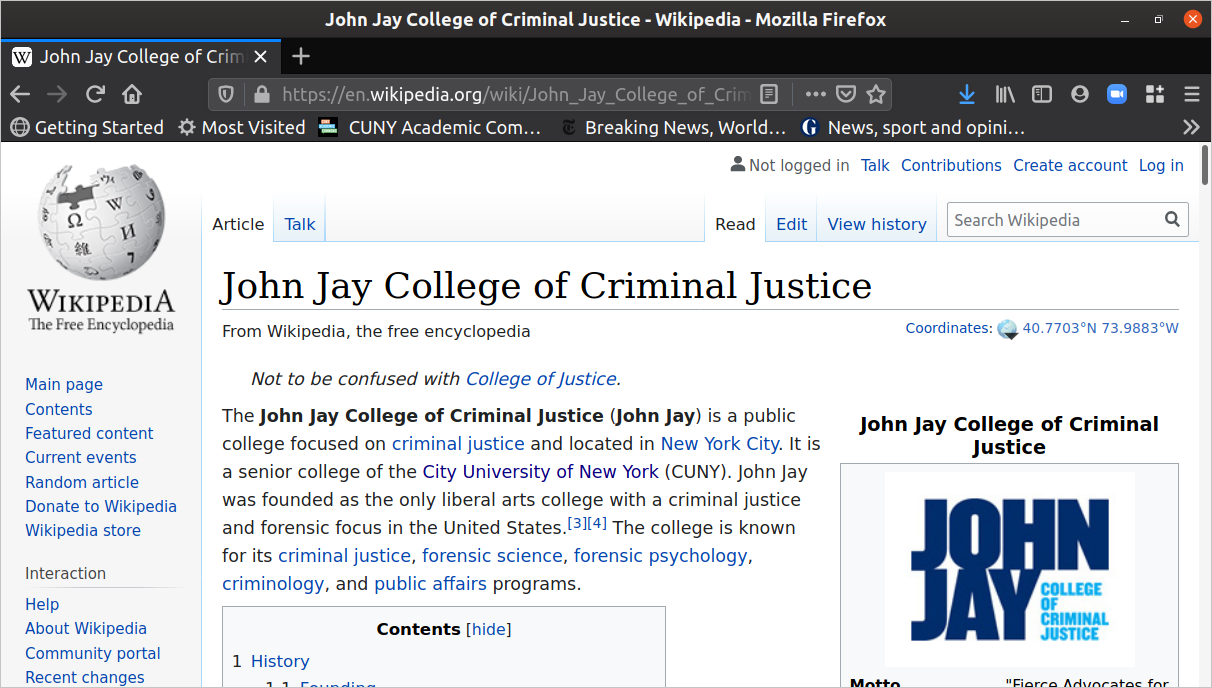
- Look at this screenshot of a webpage.
- If you were connected to the internet you would be able to open the secondary menu (using a mouse, this would be the menu that opens when you right click on the page; on computers with a track pad, this is usually a two-finger press on the right side of the track pad, or you can press the “control” button then click the track pad), and selected ‘View Page Source’ from the dropdown menu, this is what you would see:
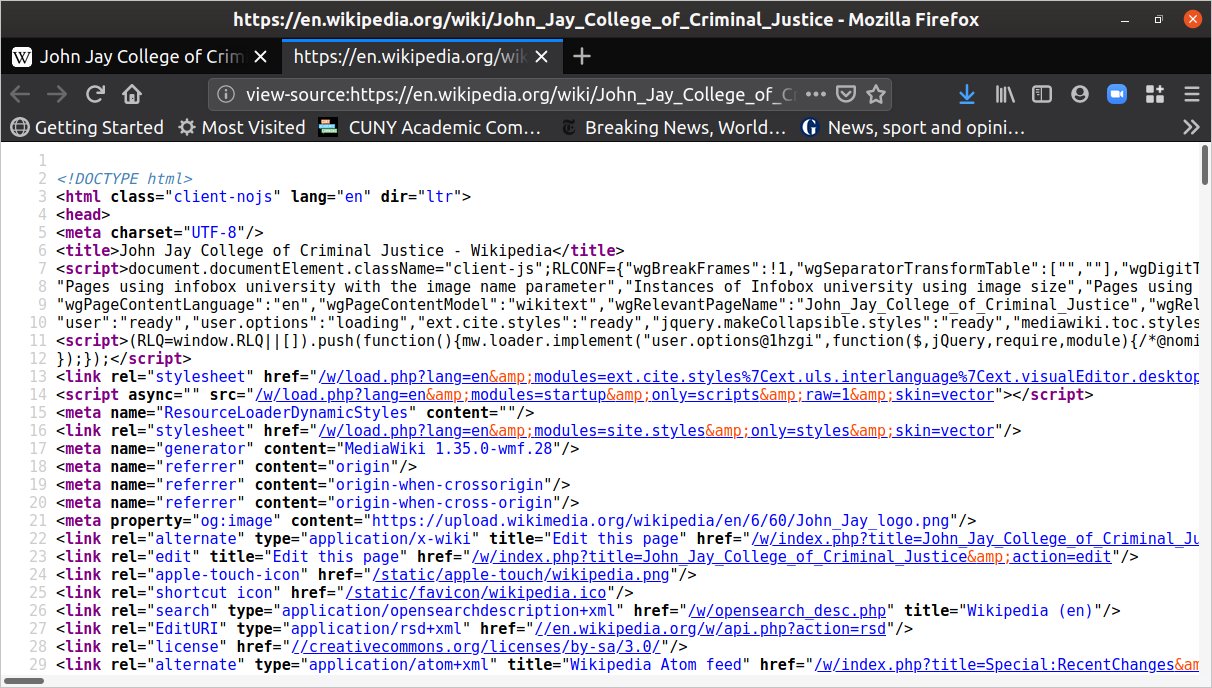
What you’re seeing
This is the underlying code of the page. This is the code that is used to make and render the page in a web browser.
In this session, we are going to learn how to read and write this code, and render it in the browser on your local computer.
Basic template for HTML
Below is a basic template for an empty HTML Document.
<!DOCTYPE html>
<html lang="en">

<head>
</head>

<body>
</body>

</html>
HTML documents start with a DOCTYPE declaration that states what version of HTML is being used. This tells the browser how to read the code below it to render the page. If the webpage were written with a different markup language (i.e. XML, XHTML), it would tell you here.
After the DOCTYPE, we see the start of the Root Element. EVERYTHING—all content—that you want presented on this page and all information about how you want that information to be organized and styled goes in the root element, and it is demarcated by <html> and </html>.
The root element begins by indicating which language the document is written in; and in this basic template, en tells us and the computer that we are writing in English.
Within the root element of the basic template below, you’ll notice the two main sections of all HTML documents: a head section (demarcated by <head> and </head>) and a body section (demarcated by <body> and </body>).
The head section contains basic information about the file such as the title, keywords, authors, a short description, and so on. This is also where you will link to your CSS stylesheet which describes how you want the page styled—what color, font, size of text, and positioning of elements on the page.
The body section contains the content of the page, including paragraphs, images, links, and more, and indicates how this content is to be structured on the page.
Activity
Create a folder called htmlpractice in your projects folder (~/Desktop/projects/htmlpractice). Inside that folder, create a new text file and save it as index.html.
Let’s use the command line to create the new folder and file:
- Open your terminal.
- Navigate to your projects folder using this command:
cd ~/Desktop/projects. - Create a new folder:
mkdir htmlpractice - Go into your new folder by typing
cd htmlpractice. - Use your VS Code text editor to create a file called index.html. To create this file, type
code index.htmlin your terminal. Your new file will open in the VS Code text editor. - Paste the template above (starting with
<!DOCTYPE html>) into the new file.
The index.html file is your default homepage for the website we are creating. This is an industry standard, because web browsers tend to recognize the index.html page as the opening page to the directory that is your website.
Once you’ve created your new file, open them with a web browser using your graphical user interface (your GUI):
Click on Files, then click on Desktop on the left. From there, double-click on projects to open that folder, then htmlpractice. Alternately, you can click the projects folder icon on your Desktop and find it from there.
Double click the index.html file. If it does not open in a browser, right click the index.html icon and select Open with... from the menu. Select Firefox or Google Chrome from the app list that appears.
What happens?
When you open the empty template, you’ll see only a blank web page. Open your secondary menu (right click on Windows, hold control and click with Mac OS) and view the page source. How can you explain what happens when you open these text files?
What should happen when I open each of my two new files?
When you ‘View Page Source’, you should see the code for the basic template.
No content renders on the page, because there is no content in the template at this time.
Tags and elements
Tags and elements are the structuring components of html webpages.
Elements identify the different parts of a page, such as paragraphs, headings, titles, body text, images and more. Elements are demarcated by tags which enclose the content of an element (ex. <head> and <head> are tags that denote the head element of your page).
Tags demarcate elements in one of two ways. As with the paragraph element below, an element can have an opening and a closing tag, with the content in between.
<p>This is a paragraph.</p>

<p>
	This is also a paragraph.
</p>
Elements which have an opening and closing tag can have other elements inside them. Inside the paragraph element below is a strong element, which emphasizes the included text by making it bold.
<p>
	When I came home from school, I saw he had <strong>stolen</strong> my chocolate pudding.
</p>
Other elements have self-closing tags as with the image element below. These tags are also called void tags.
<img src="image.jpeg">
These elements don’t require a separate closing tag. Closing tags aren’t needed because you wouldn’t add content inside these elements. For example, it doesn’t make sense to add any additional content inside an image.
Below is HTML that adds alternative text to an image—or text that describes the image. This information added is an attribute—or something that modifies the default functionality of an element.
<img alt="This is an image" src="image.jpeg">
If you look back at the basic template in your index.html file, you’ll see that the main sections of your file have opening and closing tags. Each of these main elements will eventually hold many other elements, many of which will be the content of our website.
Paragraphs and headings
Paragraphs and headings are the main textual elements of the body of your webpages. Because these contain content that you want to organize and display on your webpage, these are entered in the body element.
The <h1>, <h2>, <h3>, etc tags denote headings and subheadings, <h1> being the largest.
The <p> tags denote paragraphs, or blocks of text.
<!DOCTYPE html>
<html lang="en">

<head>
	<title>A boring story</title>
</head>

<body>
	<h1>
		Cleaning my boiler
	</h1>
	<p>
		When I got to my basement that day, I knew that I just had to clean my boiler. It was just too dirty. Honestly, it was getting to be a hazard. So I got my wire brush and put on my most durable pair of boiler-cleaning overalls. It was going to be a long day.
	</p>
</body>

</html>
Note that the <title> is in the <head> element, which is where information about the webpage goes. The title doesn’t appear on the page, but instead elsewhere in the browser when the page is displayed. For example, in Chrome, the title appears on the tab above the navbar.
Activity
Using your text editor, add the following to your index.html:
- Title
- Heading
- Paragraph
Then, re-save the file. Open it in your browser again or refresh the page if still opened.
What do you notice about how the information is organized in the webpage? In other words, where are the title, heading, and paragraph text?
What should you see?
The heading should appear at the top of the page, followed by the paragraph text. The heading text should be larger. The title should appear in the browser window tab.

Links
Links are the foundation of the World Wide Web, and thus are an important component of most websites. Hyperlinks are not only used for the internet, however. They are also used to connect pages to one another on a local site. By hyperlinking text, you can move between the different webpages on your site (sometimes in the form of a menu or navigation bar).
The <a> tag, or anchor tag, creates a link to another document. You can use the <a> tag to link to other documents you created.
Oprion one: relative links
Relative links take the current page as an origin point and search for other files within the same folder or directory. This method is useful for creating links to pages within your own site.
The following appears as a link to the about.html page in the same folder as index.html:
<a href="about.html">About</a>
On your webpage it will appear as:
This link is asking the browser to look for a file titled about.html in the same folder. If a file named about.html is not in the same folder, clicking the link will result in a 404—Page Not Found error.
Option Two: Absolute Links
An absolute link includes information that allows the browser to file resources on other websites. This information includes the site domain—such as google.com—and often the protocol—such as http or https. This option will not work without an internet connection but it is important to know how it works.
<a href="http://www.google.com">Google</a>
On your webpage it will appear as:
This pathway is directing your browser to look online for this text document at the URL address provided. Because your browser is not connected to the internet, you will probably get an Unable to connect error.

More on links
Each example above includes an href tag. The href tag, short for hypertext reference, is an example of an attribute. Attributes offer secondary information about an element.
The <a> tag, or anchor tag, creates a link. The text within the <a> and </a> tags, the anchor text, is what a visitor to the site will see and can click on. The href= attribute tells the browser where the user should be directed when they click the link.
There is another technical difference between the two options above.
Relative vs. absolute Links: when to use which
In general, you should always use relative links when referring to pages on your own site. The main advantage of using relative links to pages on your site is that your site will not break if it is moved to a different folder or environment. You should also use relative links when you don’t have a connection to the internet, as absolute links will not work.
Activity
- Create a new text file called
about.htmlin yourhtmlpracticefolder. Copy over the HTML from yourindex.htmlfile, but change the text in the<h1>element to “About.” - In your
index.htmlfile, add a relative link leading to your About page. - Also add a relative link from your
About pageto yourindex.htmlpage. In this link, call yourindex.htmlpageHome(Reminder:index.htmlis the default homepage) - Re-save your text files and reopen or refresh them in your browser.
Check if it worked!
When your pages are updated, you should be able to navigate from your Home page to your About page, and vice versa.